Materials
- Cricut or other cutting machine
- Scissors
- 3M Automotive Refinish Masking Tape 388N, 1.75-2″ wide
- Tape backing material (unsure exactly what I used)
- 3 x Foam Sponge Brushes
- 2 x 10mL Syringes
- Metal Leaf of your preference. I used Oxidized Silver Leaf (https://shizendou.myshopify.com/en/products/akagai)
- Oil Size. I used LeFranc Quick Dry Oil Size (https://www.gildedplanet.com/oilsize.html) and times given in this tutorial are based on this size.
- Soft, Dry Paintbrush
- Cotton Gloves
- Contrasting paint. I used Silver car touch up paint.
- 2K polyurethane coating
Creating Stencils
Type the name of your bike in a font you like, center it in a rectangle slightly smaller than your masking tape, and save the outline as a cut file. Then create a stroke around the font and expand so that you again just have the larger outline, center this in the same size rectangle, and save this as a separate cut file. Cut out each stencil from 3M Automotive Refinish Masking Tape (you will need to place this on a backing, I happened to find something on hand that would work but am unsure what material it is). Using the basic vinyl cut setting should cut through just the masking tape and leave the backing intact. If this setting cuts all the way through the backing, you will need to adjust the settings until only the tape is cut through.
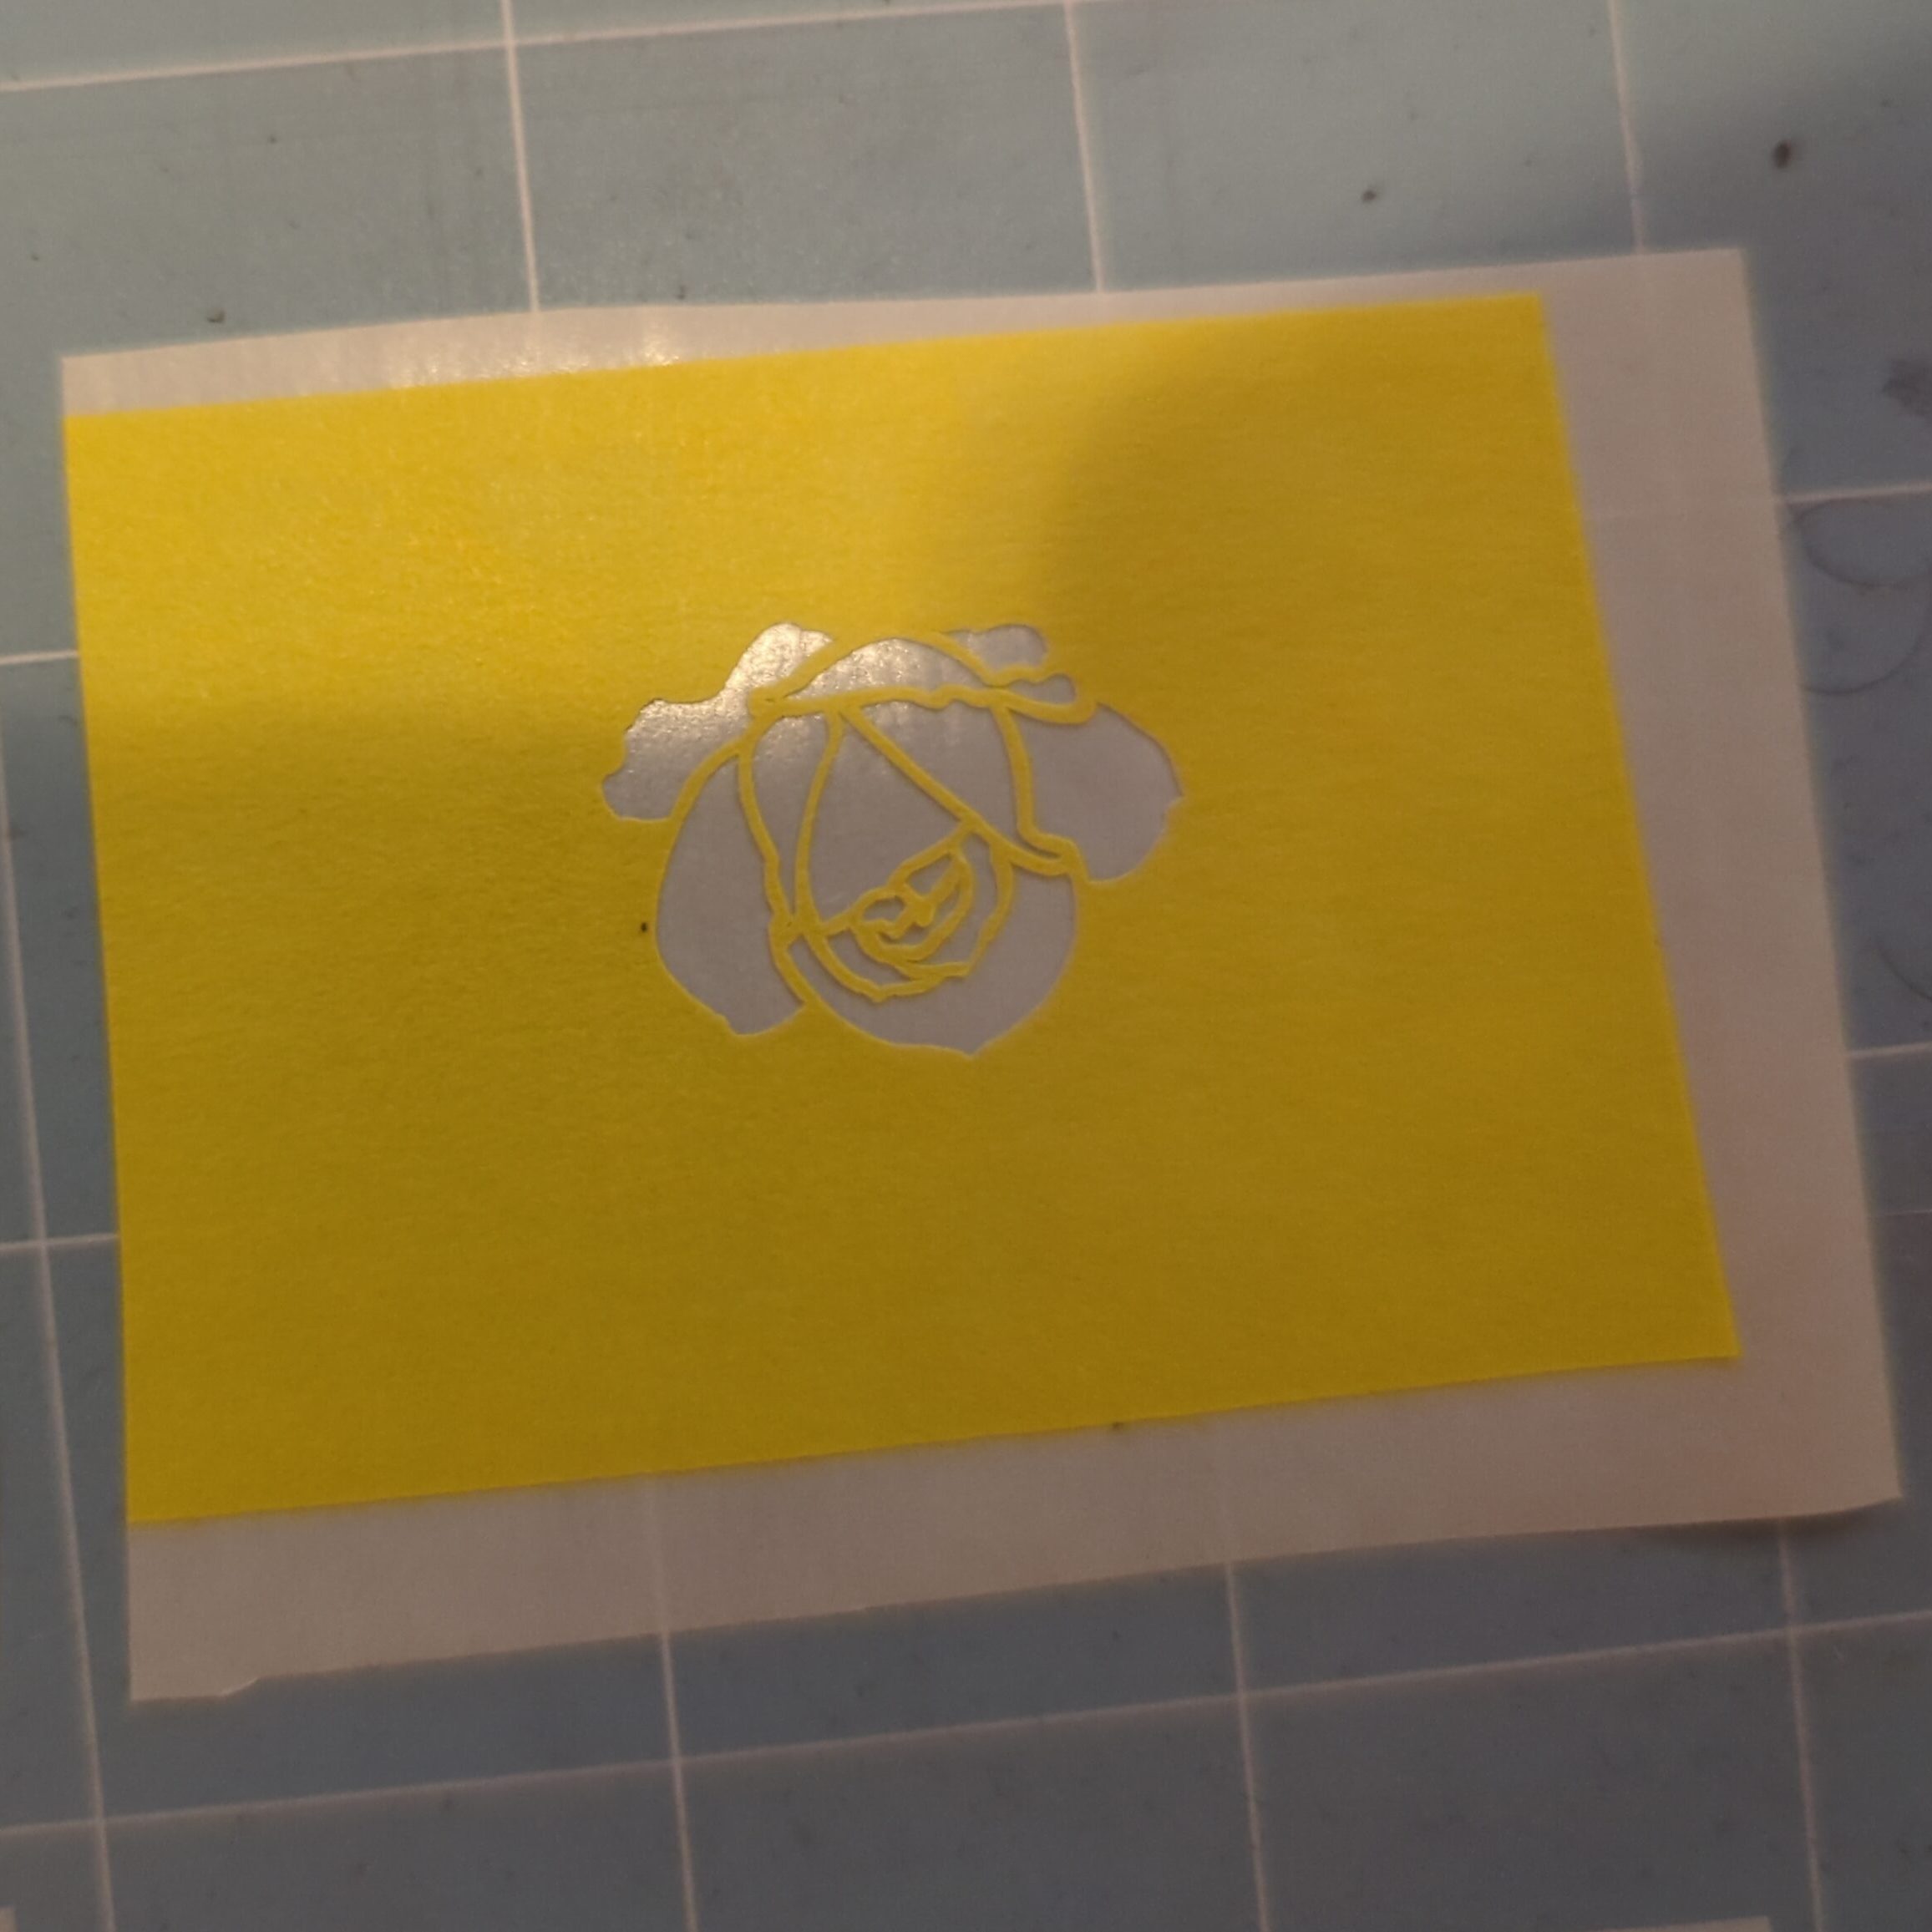
Placing Stencils
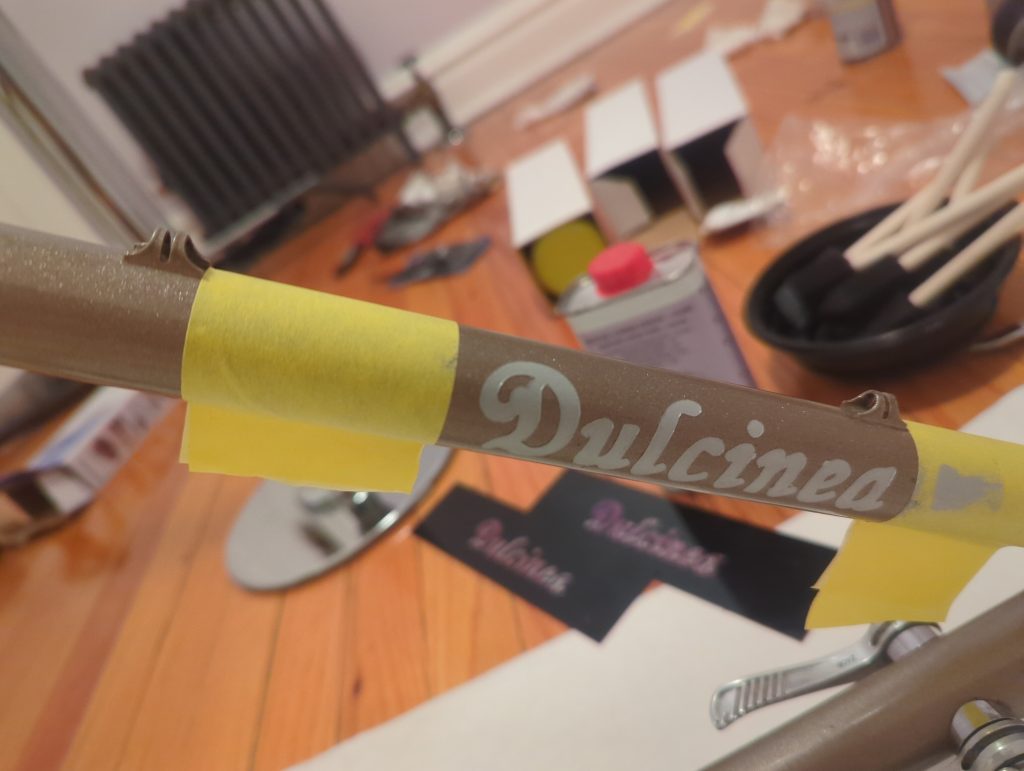
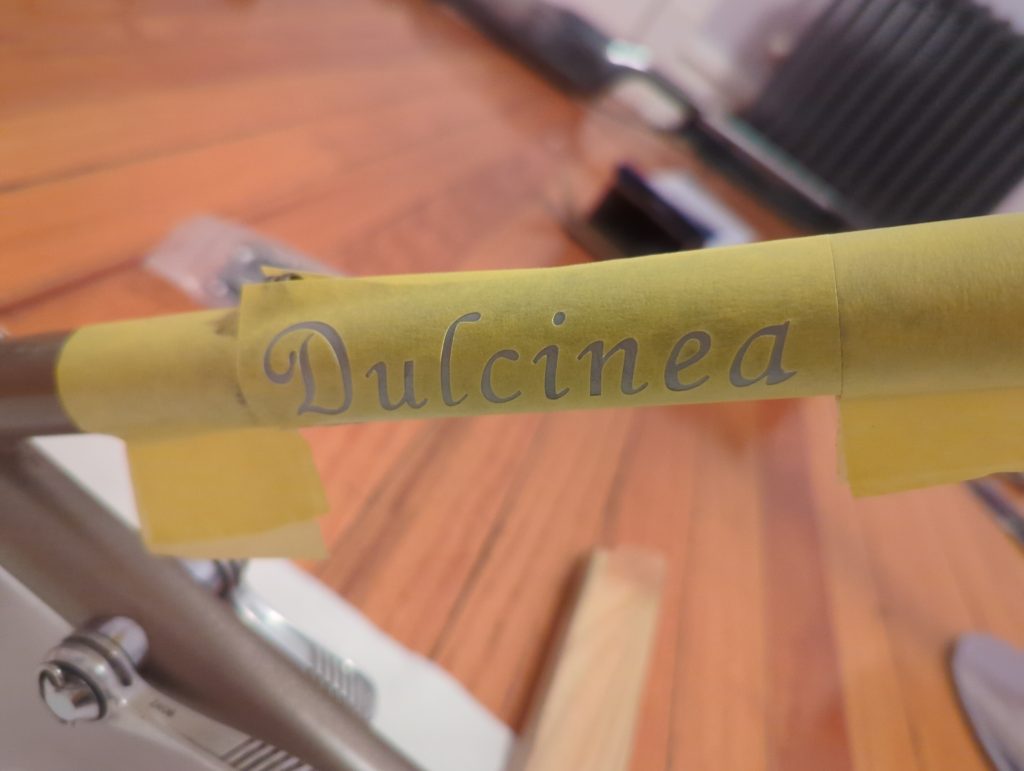
Use cricut transfer tape to remove the larger tape stencils from their backings, being careful not to lose the centers of e’s, a’s, o’s, etc. Place the stencils on the bike and remove the transfer tape. Make sure all stencil edges are thoroughly pressed down to prevent leaking.
Once all stencils are placed, use additional masking tape to create alignment markers around them. At least 3 sides of each stencil should have an alignment tape beside it. The tape will likely need to be cut into a thin strip to fit between stencils on opposite sides of a tube. It is important that any gaps between the stencils and alignment masking tape is no larger than 150 microns. This will also help protect the rest of the frame during the next steps.
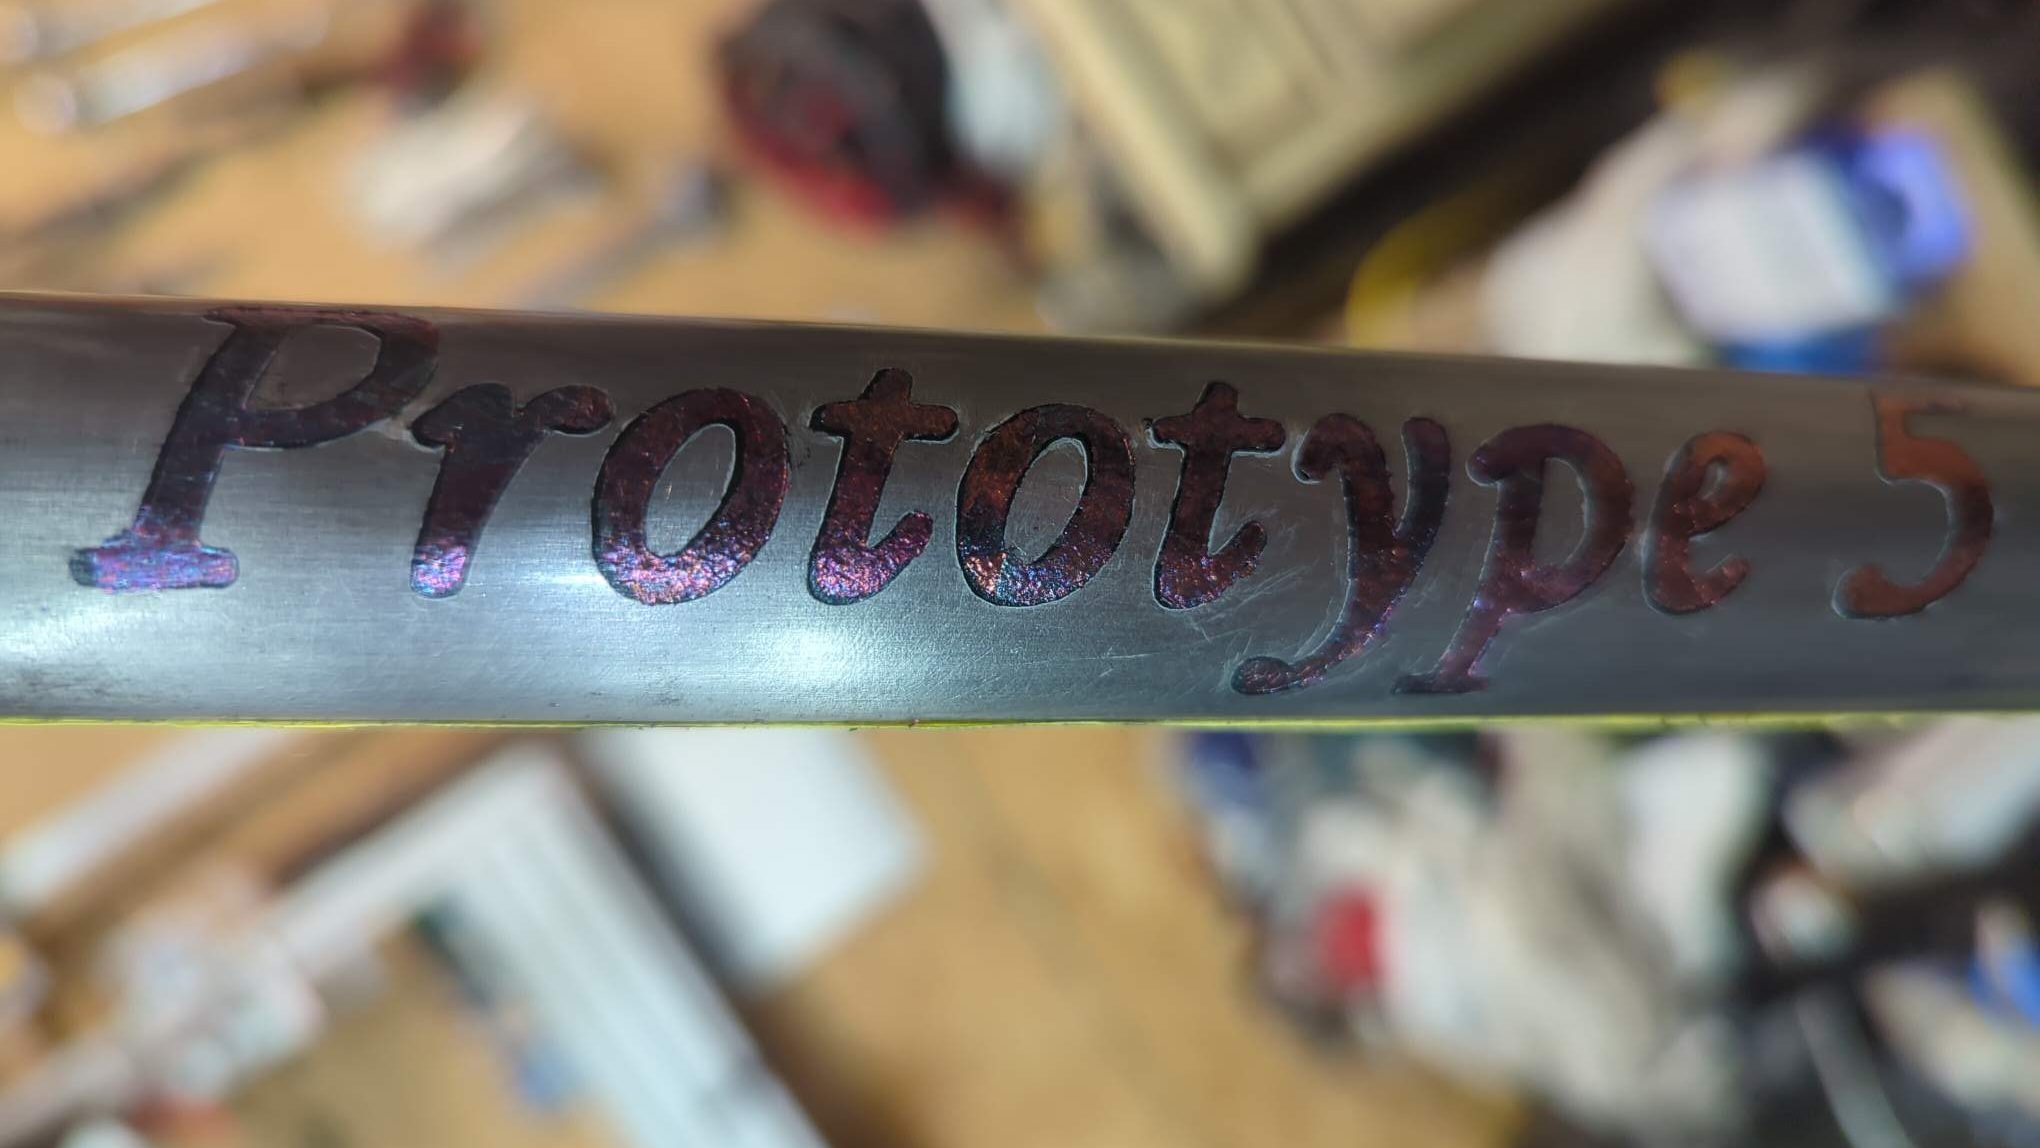
Paint Stroke
Use a foam brush and a dabbing motion to apply a thin layer of primer to the stencil. Once this is dry to the touch, add a layer of paint over the primer. If needed, an additional layer of paint can be applied. Keeping the paint layers thin will give the best result.
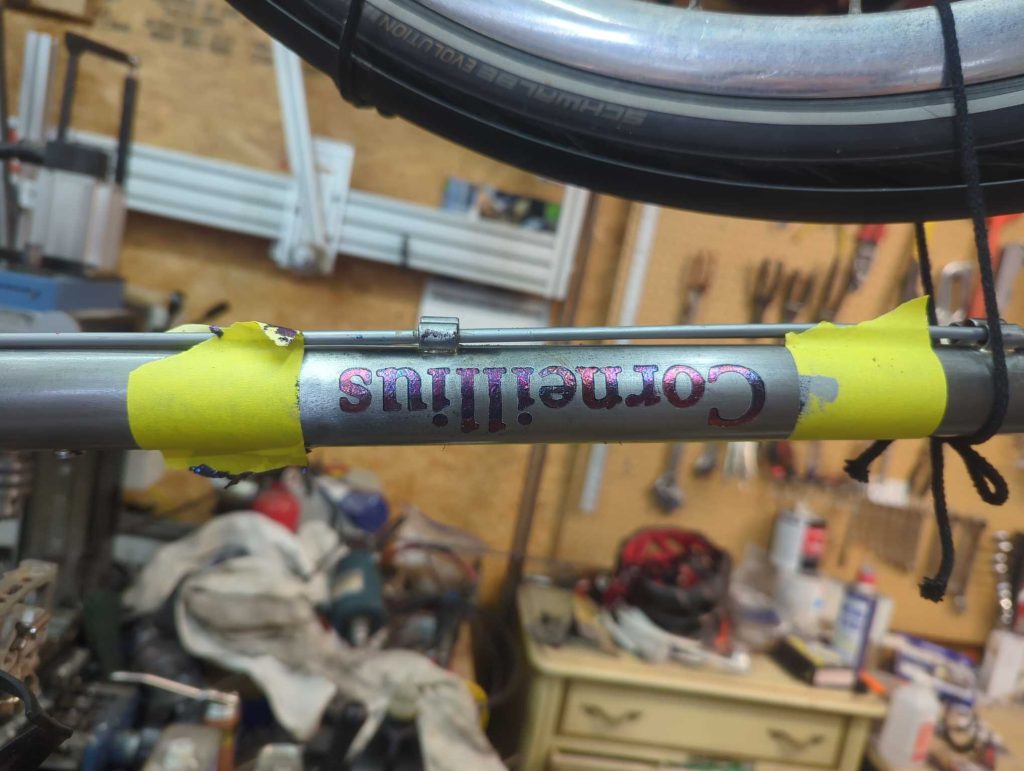
Once the final layer paint is very dry to the touch (about 20 mins), remove the stencil tape. Do not remove the alignment tape around the stencils as you will need this to place the gold leaf stencils correctly. It is important that the paint stencils are removed before paint reaches a full cure to create clean edges on the stencils.
Let dry for a full 24 hours.
Use a small dremel sanding bit by hand to knock down the edges of the paint that stick up. If these are left in place, they may be prone to breaking off and just don’t look as nice.
Placing Gold Leaf Stencils
Remove the smaller of the stencils from the backings with transfer tape. Use the alignment tape to align these stencils to the same locations the previous stencils had been. Remove the transfer tape and make sure the stencil edges are all thoroughly pressed down.
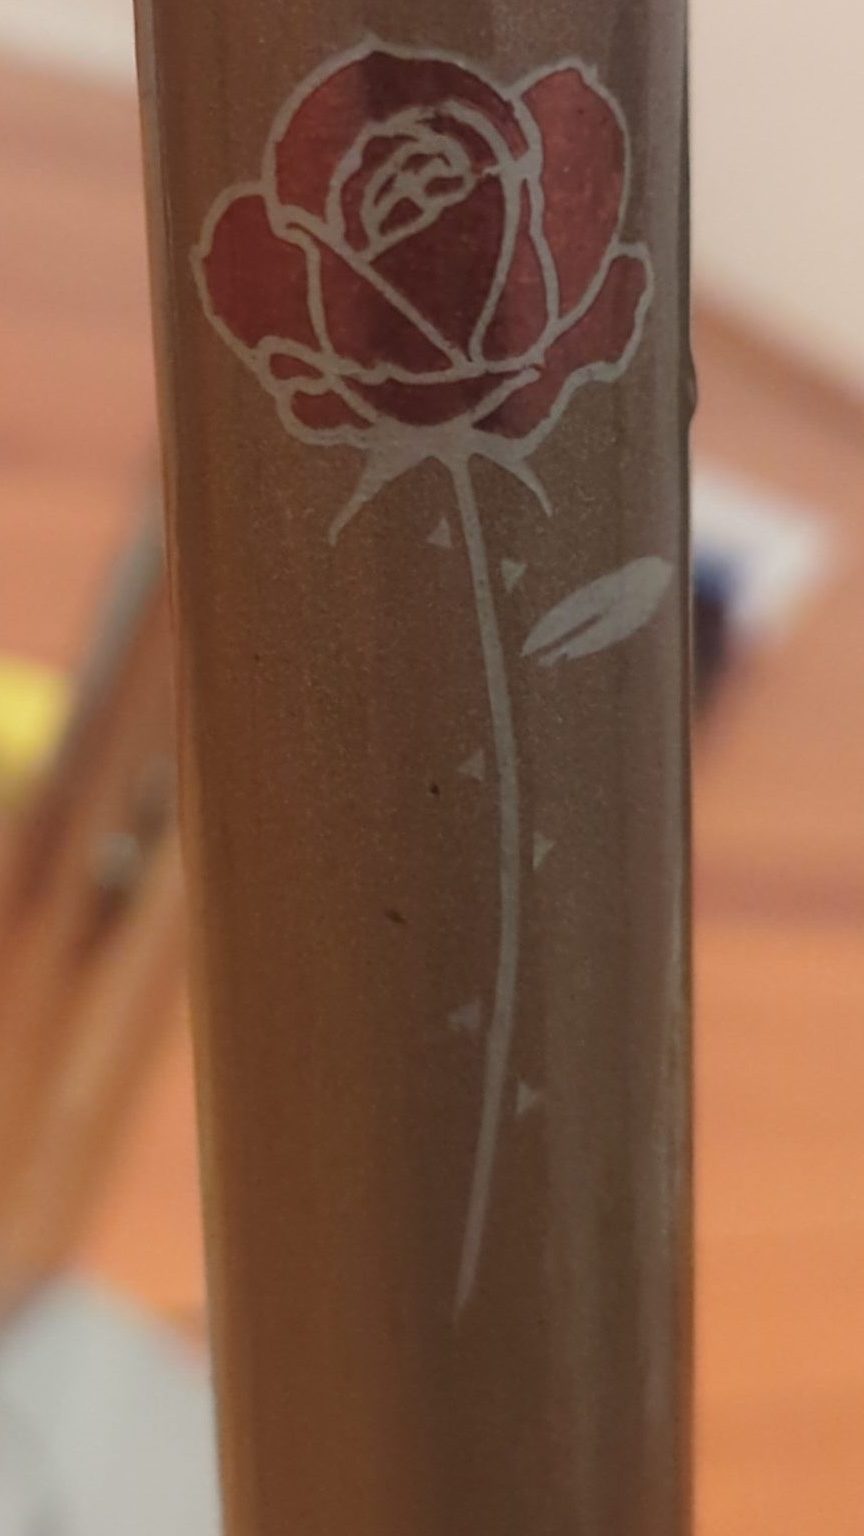
Gold Leaf
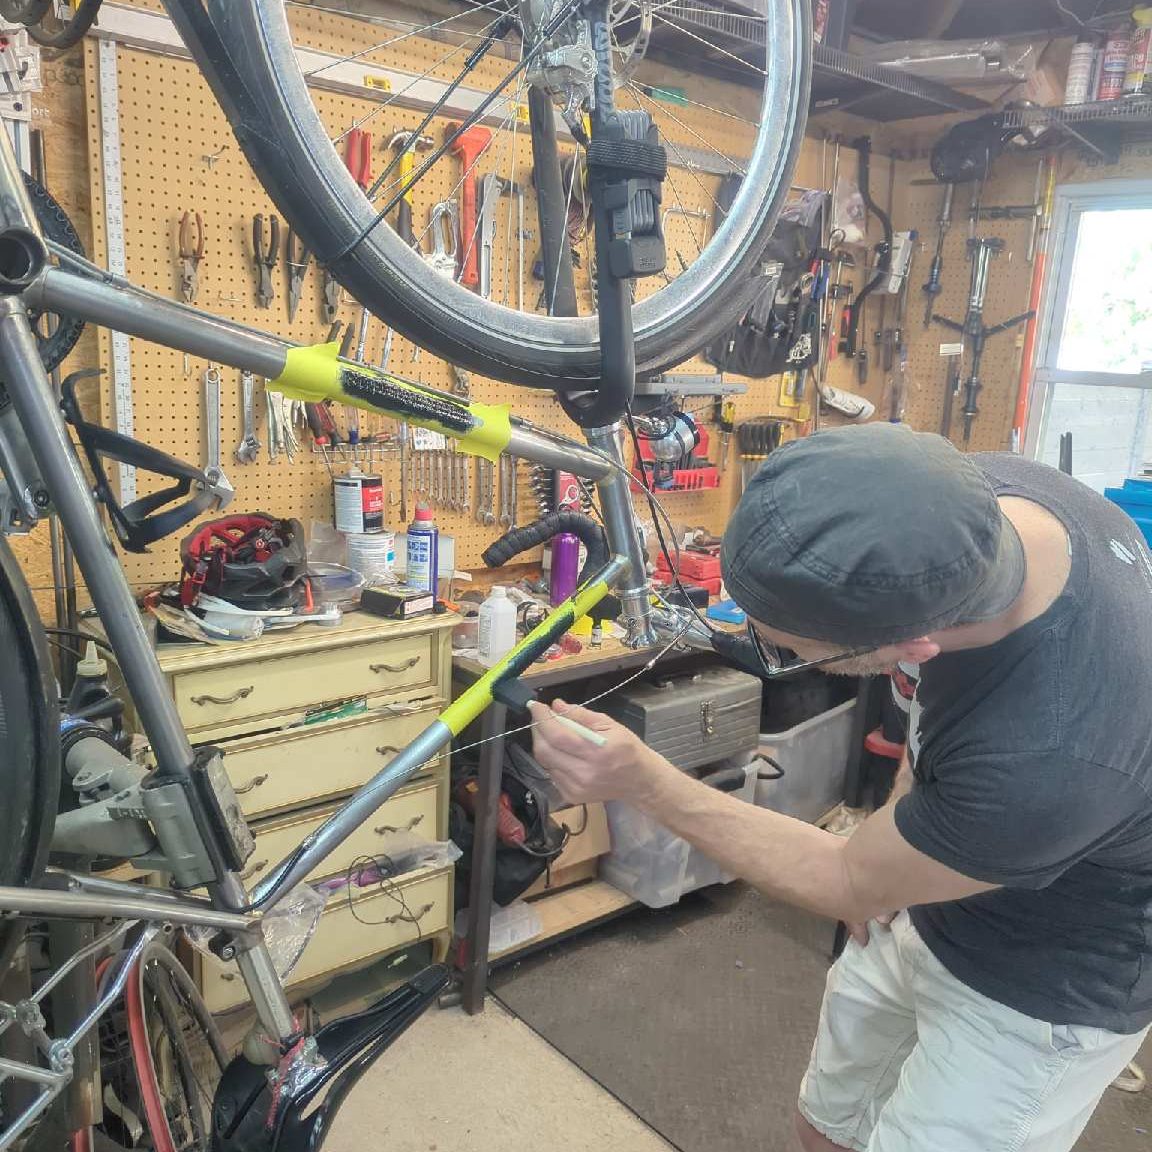
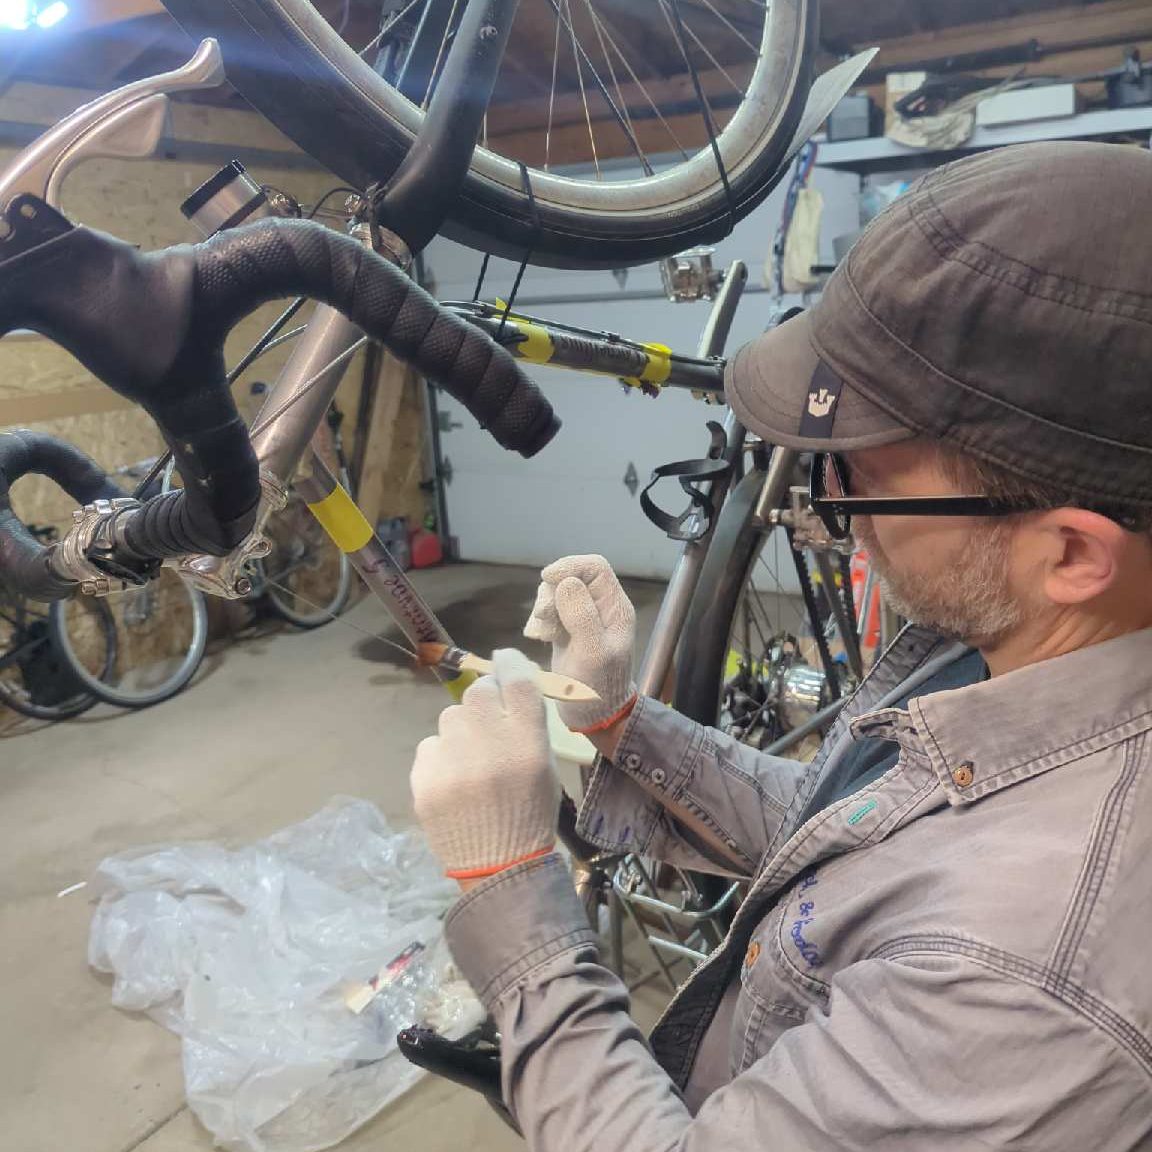
Use a foam brush to apply size to the stencil. Use the smallest amount of size possible while getting full coverage by using a dabbing motion. After application, dab with a dry portion of the foam brush to remove any excess. Be very careful to keep size confined to the stencil as any that gets elsewhere on the frame will be hard to see and easily get leafed.
Let the size dry for 2.5 hours.
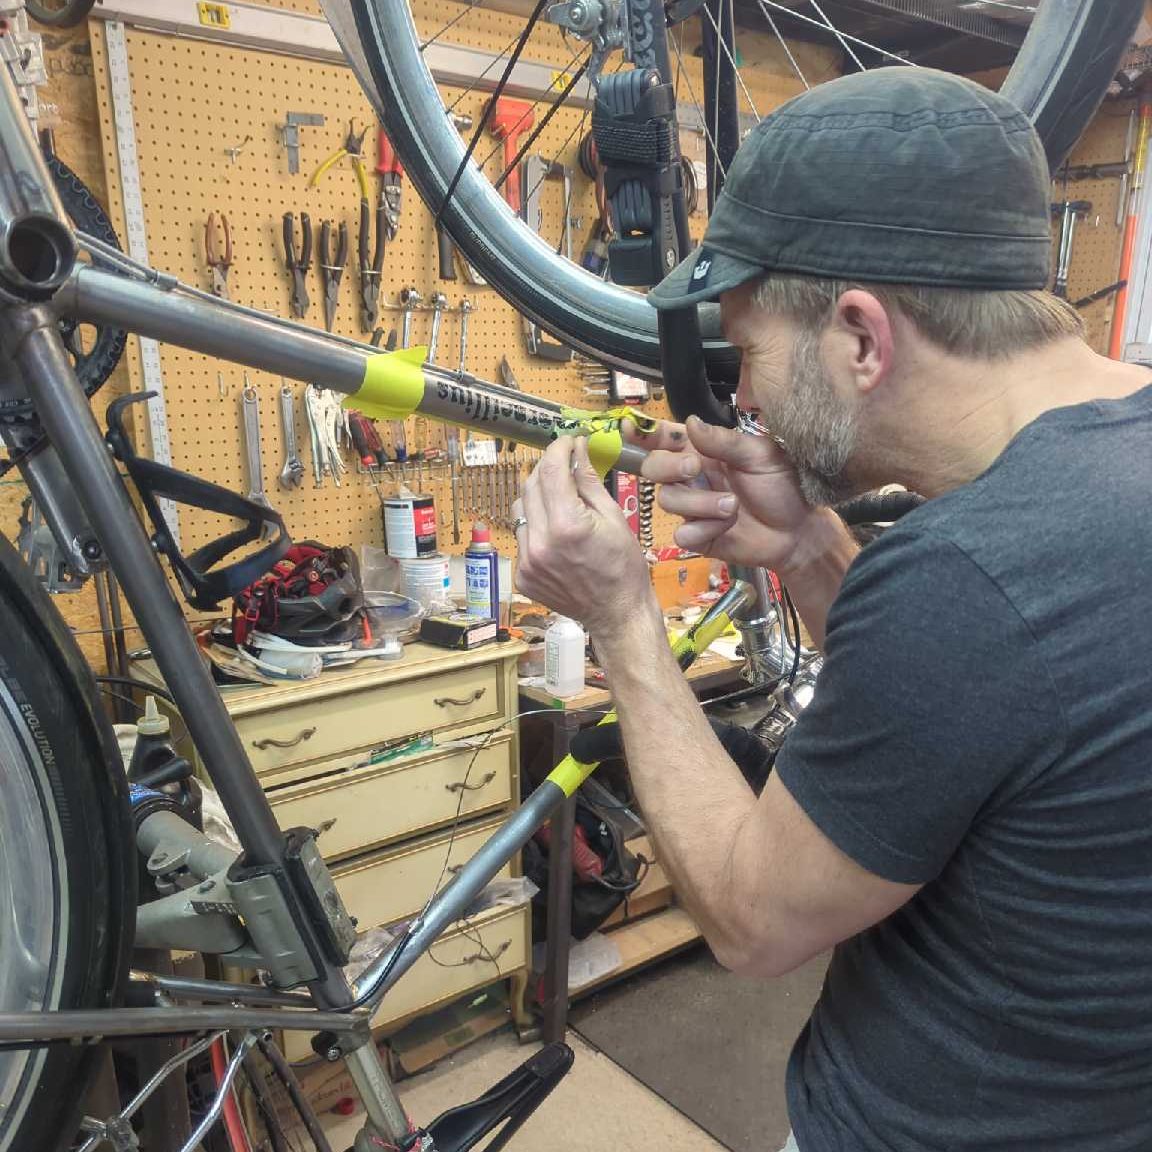
Remove the stencils, again being careful not to touch the size or transfer any around the frame. Put on cotton gloves and apply gold leaf to the areas with size and tap gently with your fingers. You can place one continuous piece of leaf on each decal or apply leaf in small fragments depending on the desired aesthetic.
Once leaf has made contact with all size, tap at the leaf with the soft, dry paintbrush until the excess falls off. Do not use a brushing or sweeping motion as this can pull tiny pieces of leaf off the size. Tweezers can be used to carefully scrape off any edges where size leaked under the masking tape if necessary.
Let dry for a full 24 hours.
Sealing
A sealant is necessary to protect the leaf from damage since precious metals are very soft. I used a 2K polyurethane and sealed the entire bike frame, but you can use any sealant you prefer and only need to cover the stencil area.
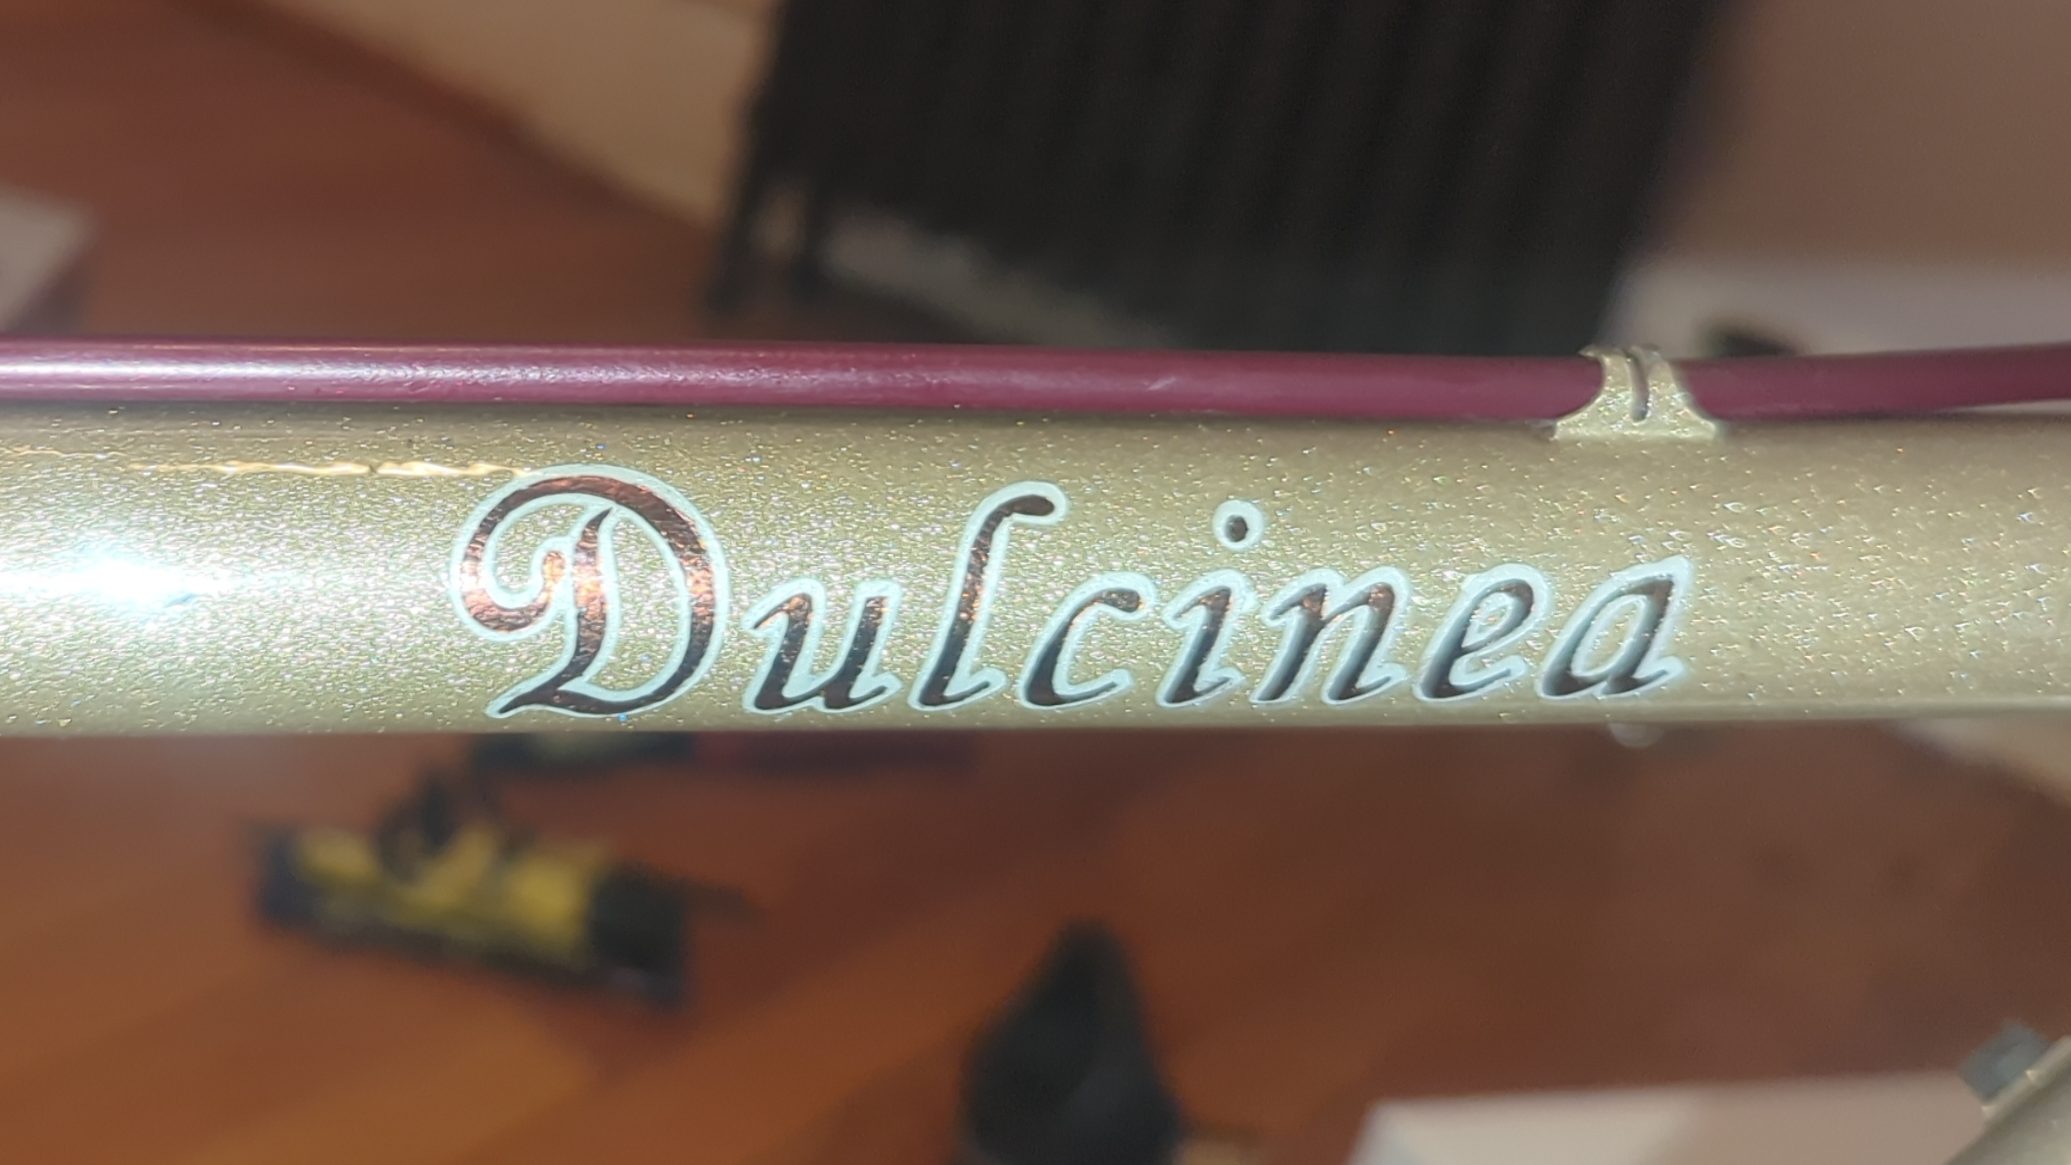
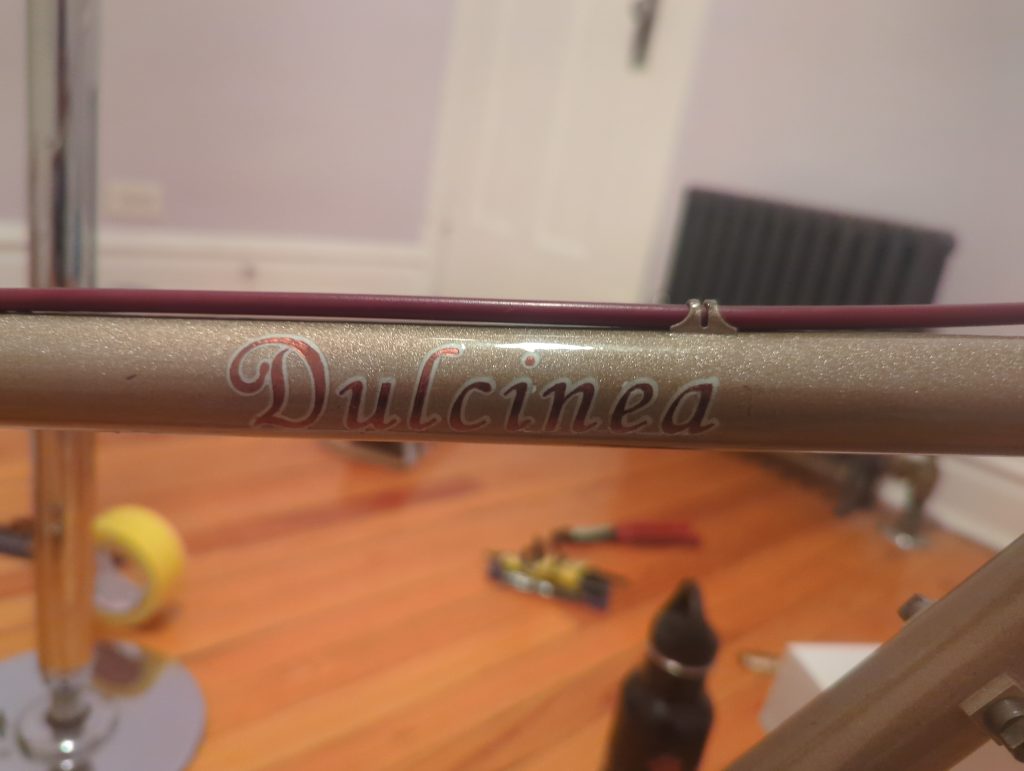
Results